Understanding Car Fluids
Car fluids are essential for a vehicle’s performance and longevity. They lubricate, cool, and clean various parts, ensuring smooth operation.
Types of Car Fluids
Different fluids serve specific purposes:
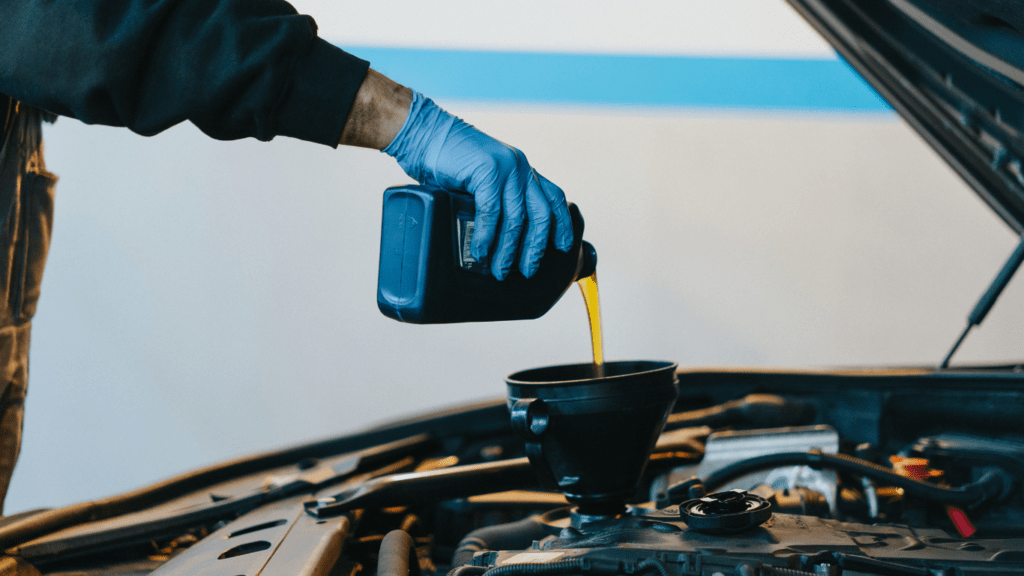
- Engine Oil: This lubricates engine parts, reducing friction and wear. For example, synthetic oils work well under extreme conditions.
- Transmission Fluid: This fluid lubricates the transmission, ensuring smooth gear shifts.
- Coolant: This fluid regulates the engine’s temperature, preventing overheating and freezing.
- Brake Fluid: This fluid transfers force into pressure, enabling effective braking. For instance, DOT-3 and DOT-4 fluids suit different braking systems.
- Power Steering Fluid: This fluid assists in steering, making it smoother and more responsive.
- Windshield Washer Fluid: This fluid keeps the windshield clear, improving visibility. Specific blends work best in various weather conditions.
Checking Fluid Levels
Regularly check fluid levels to maintain vehicle health:
- Engine Oil: Check every month and before long trips.
- Transmission Fluid: Inspect every 30,000 to 60,000 miles.
- Coolant: Verify twice a year, in spring and autumn.
- Brake Fluid: Check every time you change your oil.
- Power Steering Fluid: Inspect monthly.
- Windshield Washer Fluid: Refill as needed.
Signs of Fluid Issues
Identify potential issues by watching for these signs:
- Leaking Fluids: Puddles under the car indicate leaks. For example, red puddles suggest transmission fluid leaks.
- Burning Smell: This odor can signal overheating fluids.
- Noisy Operation: Unusual sounds might imply low fluid levels.
- Warning Lights: Dashboard indicators often signal fluid problems.
Knowing how to check and maintain car fluids can enhance your vehicle’s performance, preventing costly repairs and ensuring a safer drive.
Essential Tools for Checking Car Fluids
Having the right tools is crucial for checking car fluids effectively. I rely on a few specific items to ensure accurate measurements and safe handling.
- Dipstick: Every car has a dipstick for checking engine oil levels. I pull it out, wipe it clean, dip it back in, and then pull it out again to see the oil level against the marked indicators.
- Clean Rags or Paper Towels: I always have clean rags or paper towels on hand. They’re indispensable for wiping dipsticks and checking fluid colors and consistencies.
- Funnel: A funnel helps me pour fluids without spilling. It’s particularly useful when topping up engine oil, transmission fluid, or coolant.
- Flashlight: A flashlight helps me get a clear view of hard-to-see areas under the hood. I find this especially useful when checking fluid levels and spotting potential leaks.
- Gloves: Gloves protect my hands from any harmful chemicals. I use them to avoid direct contact with car fluids like engine oil and coolant.
- Fluid Containers: Proper containers allow me to store any fluid drained during checks. I use them to safely dispose of old or contaminated fluids.
- Manual or Service Guide: I keep my car’s manual or service guide nearby. It provides specific instructions on fluid types, levels, and maintenance schedules.
Using these tools makes the process of checking car fluids straightforward and efficient.
How to Check Engine Oil
Checking engine oil is essential for maintaining engine health and performance. Here’s how to do it effectively.
When to Check
Engine oil should be checked every month or before long trips. Always check the oil when the engine is cool and the car is parked on a level surface.
- Locate the Dipstick: Open the hood and find the dipstick. It’s usually marked with a bright handle.
- Remove and Clean the Dipstick: Pull the dipstick out, wipe it clean with a rag, and insert it back fully.
- Check Oil Level: Pull the dipstick out again and check the oil level. It should be between the “Min” and “Max” marks.
- Inspect Oil Condition: Observe the oil’s color and consistency. Clean oil is amber but may darken with use.
- Add Oil if Needed: If the oil level is low, use a funnel to add the appropriate oil, referring to the car manual for specifications. Pour slowly, checking levels periodically to avoid overfilling.
- Secure the Dipstick: Ensure the dipstick is reinserted properly and the oil cap is securely tightened.
Checking engine oil regularly prolongs engine life and prevents unexpected breakdowns.
How to Inspect Coolant Level
Coolant plays a critical role in your car’s performance. It’s essential to ensure the coolant level is adequate to prevent engine overheating.
Importance of Coolant
Coolant or antifreeze helps regulate your engine’s temperature. It prevents the engine from overheating or freezing, depending on weather conditions. Without proper coolant levels, engine components can warp, crack, or fail. A balanced coolant mixture improves heat transfer and resists boiling.
Checking the Coolant
To inspect the coolant level, follow these steps carefully:
- Ensure Engine Coolness: Check the coolant only when the engine is completely cool. Hot coolant is pressurized and can cause burns if accessed.
- Locate the Radiator and Coolant Reservoir: The radiator is usually at the front of the engine compartment. The coolant reservoir is a transparent tank marked with “Full” and “Low” levels.
- Check Level in Reservoir: Inspect the coolant level against the markers on the reservoir. The coolant should be between the “Full” and “Low” lines.
- Add Coolant if Necessary: If levels are low, add the recommended coolant mixture directly into the reservoir. Avoid overfilling.
- Secure the Caps: Ensure both the radiator cap and reservoir cap are secured tightly after adding coolant.
Checking your coolant level regularly can prevent engine overheating and significant repairs.
Checking Brake Fluid
Checking brake fluid regularly helps ensure safe driving by maintaining effective braking performance.
Safety Precautions
Before opening the brake fluid reservoir, park on a flat surface and turn off the engine. Brake fluid is corrosive, so use gloves and avoid contact with skin and eyes. Have a clean cloth ready to wipe any spills immediately.
- Locate the Reservoir: Find the brake fluid reservoir on the driver’s side of the engine bay, near the back.
- Check the Level: Inspect the fluid level against the “Min” and “Max” markers on the reservoir. The level should be between these markers.
- Inspect the Fluid: Check the color; it should be clear or slightly yellow. Dark or dirty fluid indicates it’s time for a change.
- Add Brake Fluid: If the level is low, carefully add the appropriate type of brake fluid specified in your car manual. Avoid overfilling.
- Secure the Cap: After checking or adding fluid, ensure the reservoir cap is tightly closed to prevent contamination.
Regularly checking brake fluid helps maintain consistent brake performance.
How to Check Transmission Fluid


Checking transmission fluid ensures your car’s transmission operates smoothly. It’s essential for preventing transmission damage and maintaining overall vehicle health.
Identifying Transmission Fluid
Transmission fluid is typically red or pink, with a slightly sweet smell. Before starting, consult your car’s manual for the exact location of the transmission dipstick. Automatic transmissions have a dipstick under the hood, often near the engine bay. Manual transmissions may require accessing the fluid through the transmission case, making identification crucial.
- Warm the Engine: Turn on the engine and let it idle for a few minutes. Engage the parking brake, and cycle through each gear, pausing briefly before returning to “Park” or “Neutral.” Ensure the engine’s running; otherwise, the reading might be inaccurate.
- Locate the Dipstick: Find the transmission fluid dipstick as instructed in the car manual. It’s usually marked with a bright color for easy identification.
- Remove and Clean the Dipstick: Pull out the dipstick and wipe it clean with a rag or paper towel. This removes any fluid that may give a false reading.
- Check Fluid Level: Reinsert the dipstick fully, then pull it out again to check the fluid level. The fluid should be within the “Full” and “Low” or “Add” markers. If it’s low, add the recommended transmission fluid until it reaches the “Full” mark.
- Assess Fluid Condition: Examine the fluid’s color and smell. Transmission fluid should be red or pink and have a slightly sweet smell. Dark, burnt-smelling fluid indicates a need for a fluid change or inspection by a professional.
- Secure the Dipstick: Once the proper level is confirmed, and the fluid’s in good condition, reinsert the dipstick securely to avoid leaks.
Regularly checking transmission fluid helps prevent improper transmission operation and expensive repairs.
Power Steering Fluid Level Check
Power steering fluid ensures smooth and responsive steering. Regular checks prevent damage and costly repairs.
Recognizing Issues
These signs indicate low power steering fluid:
- Noise: Whining or squealing when turning the wheel suggests low fluid.
- Difficulty Steering: Harder steering can signal fluid depletion.
- Leaks: Fluid puddles under the car point to leaks.
How to Check
To check the fluid level:
- Locate the Reservoir: Typically near the engine, marked with a steering wheel symbol or labeled “Power Steering.”
- Check the Level Markers: Remove the cap and look at the “Min” and “Max” markers on the dipstick or reservoir.
- Inspect Fluid Condition: Ensure the fluid is a clear, amber color. Dark, opaque fluid requires replacement.
- Add Fluid If Necessary: Pour fluid slowly to avoid overfilling. Use a funnel to prevent spills.
- Secure Everything: Replace the cap securely to prevent contamination.
Regular power steering fluid checks enhance vehicle safety and prevent steering issues.
Windshield Washer Fluid
Regularly checking and refilling windshield washer fluid ensures clear visibility, especially in adverse weather conditions or dusty environments.
Importance
Windshield washer fluid is essential for maintaining an unobstructed view while driving. It removes dirt, dust, and other debris from the windshield, enhancing overall safety. When the fluid level is low, it compromises visibility, risking accidents. Additionally, a proper mix of washer fluid includes anti-freeze agents, which prevent the liquid from freezing in cold weather.
How to Refill
To refill windshield washer fluid, follow these straightforward steps:
- Locate the Reservoir: Open the car hood and find the reservoir, usually marked with a windshield/water symbol.
- Check the Level: Look through the translucent reservoir to see the fluid level. If it’s below the fill line, it’s time to refill.
- Add Fluid: Using a funnel, pour in the washer fluid until it reaches the fill line.
- Secure the Cap: Ensure the cap is tightly secured to prevent contamination or leakage.
Regularly topping off windshield washer fluid keeps the windshield clean and enhances driving safety.

